Vocal EQ and Compression Cheat Sheet
- Posted on

Vocalization has been our species’ primary form of social interaction for countless years now, which means that the ear is naturally drawn to the human voice, making us especially tuned into all the nuance and detail – good and bad – in the way a lead vocal sounds in a track.
Getting a good vocal starts at the source, with the singer and the recording equipment, but how you process recorded audio is equally, if not more, important. Compression and EQ are two of the most effective ways to enhance your vocal, which is why we’ve decided to compile a list of vocal EQ and compression settings to give you a shortcut to success, which you’ll find in the PDF download link above. These templates will act as vocal presets for your plugins, and help you to dial in on the right sound for a pristine mix.
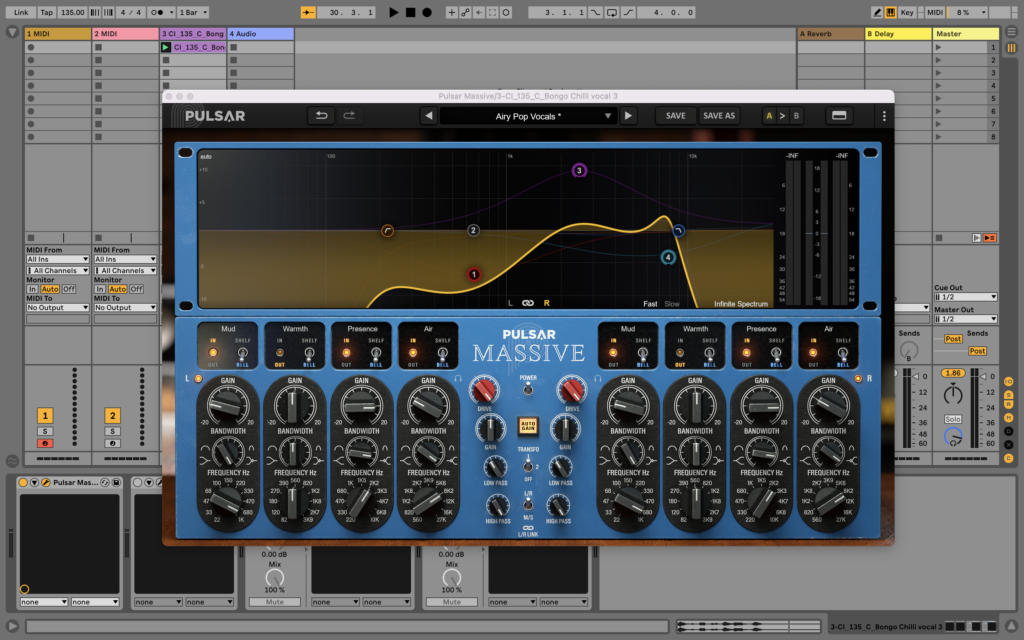
EQ is one of the most effective ways of shaping your vocals, by adjusting the volume of one or more specific frequencies to allow the right parts of the audio to shine in your mix. Boosting the frequencies that sound good can be called “additive EQ”, whereas cutting the ones that don’t can be called “subtractive EQ”.
Using additive or subtractive EQ at different points in a processing chain will affect how other plugins interact with the vocal at other stages. For example, subtractive EQ early in your vocal chain prevents amplification of anything unwanted with compression or other processing down the line.
Understanding the frequencies in your vocal and how to process them is important, as you can then choose to prescribe whichever course of treatment you wish, whether you’re looking for a clean cut and sparkly pop vocal or a more grungy and over-saturated one.
In general, there are certain areas of the frequency spectrum which can be honed in on to take pretty much any vocal recording in any direction you want, once you know how. Vocal EQ templates like the ones we’ve provided in the PDF at the end of this article are invaluable starting points that will save you time spent messing around with frequency bands, and deliver professional results in an instant instead.

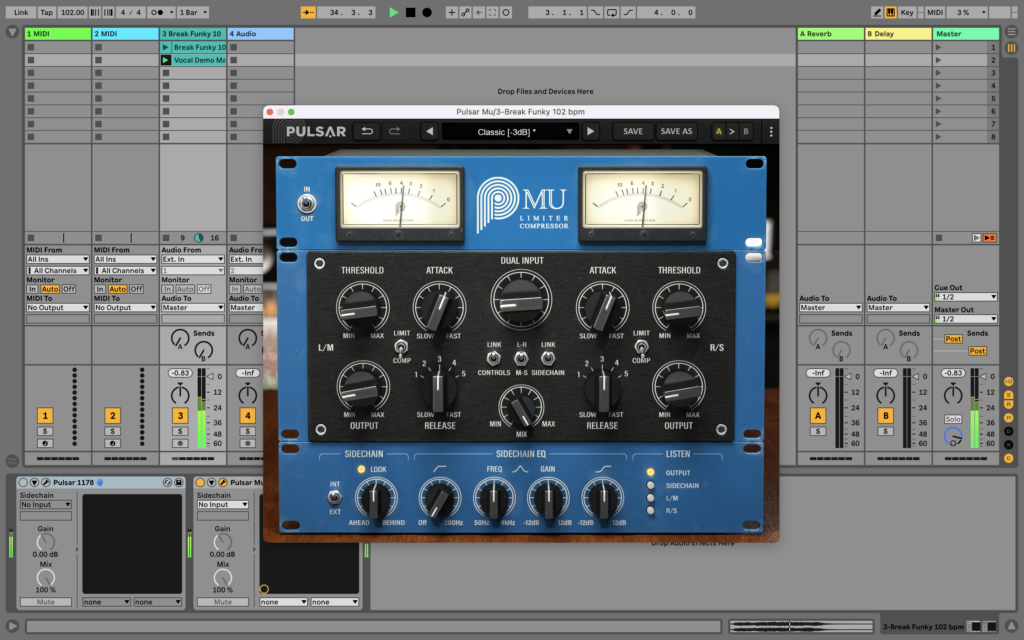
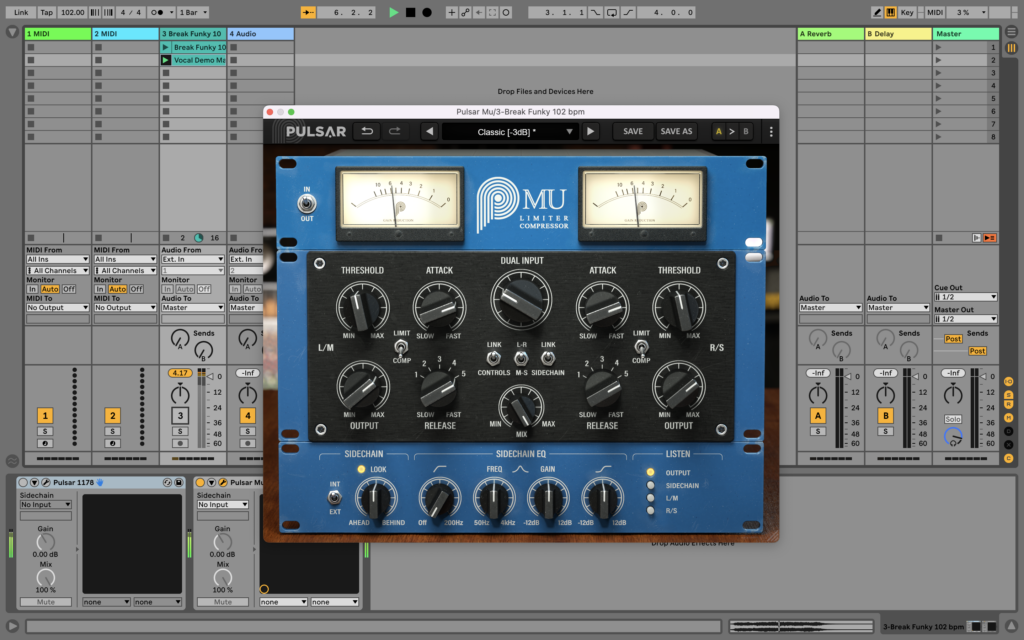
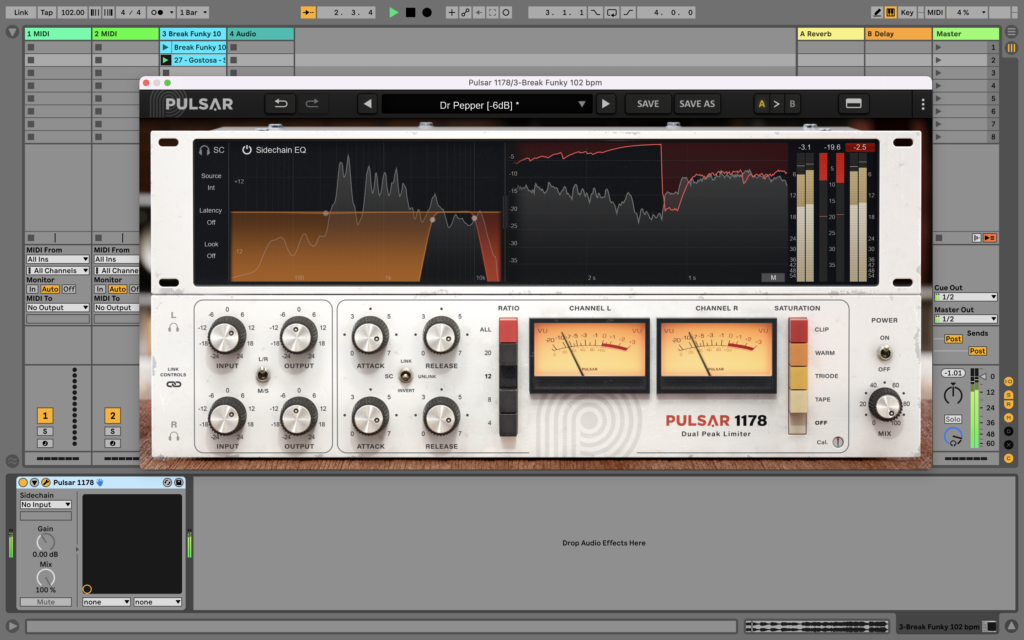
The other vital tool for mixing vocals that we’re covering on our cheat sheet is compression, which essentially acts as volume automation that balances out the distances between the loudest and quietest part of an audio signal, or the ‘dynamic range’. Vocals are naturally dynamic, meaning they fluctuate between loud and soft parts. One of the fundamental benefits of a compressor in a vocal chain is that it can be used to make every part of a vocal audible, by reducing that dynamic range.
Compression can be a more intimidating concept for beginner producers than EQ, especially when faced with rather esoteric sounding parameters like ‘threshold’, ‘lookahead’ and ‘knee’. However, there are a few fundamental principles of compression that you can apply to nearly any vocal to situate it properly in your mix.
And, with our resource of vocal EQ and compression templates that give you recommended settings for your plugins, you’ll find that getting the perfect vocal sound for your project isn’t as hard as you might think.
EQ
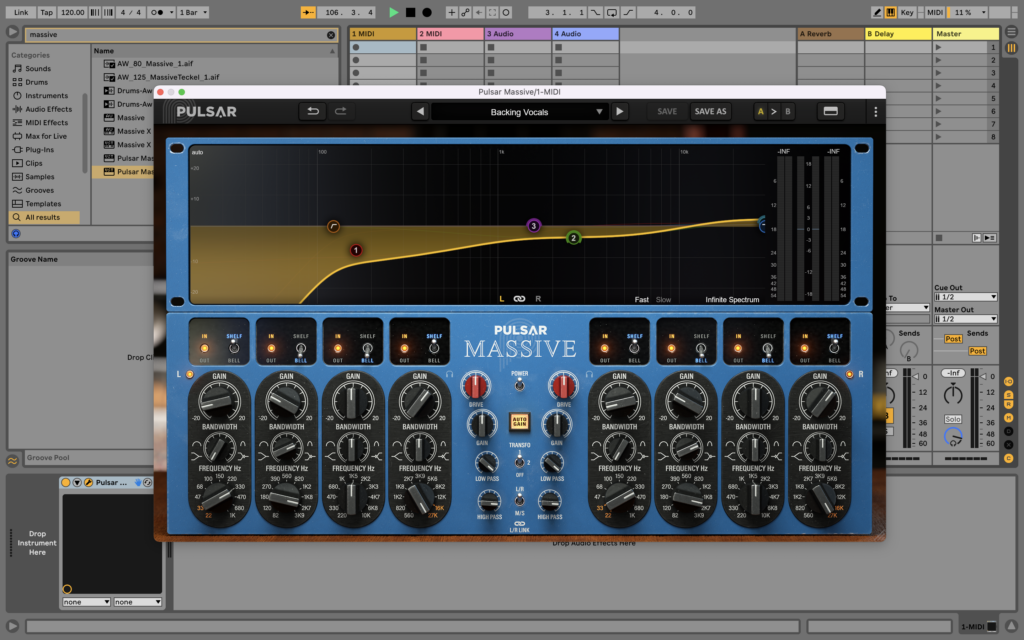
Backing vocals
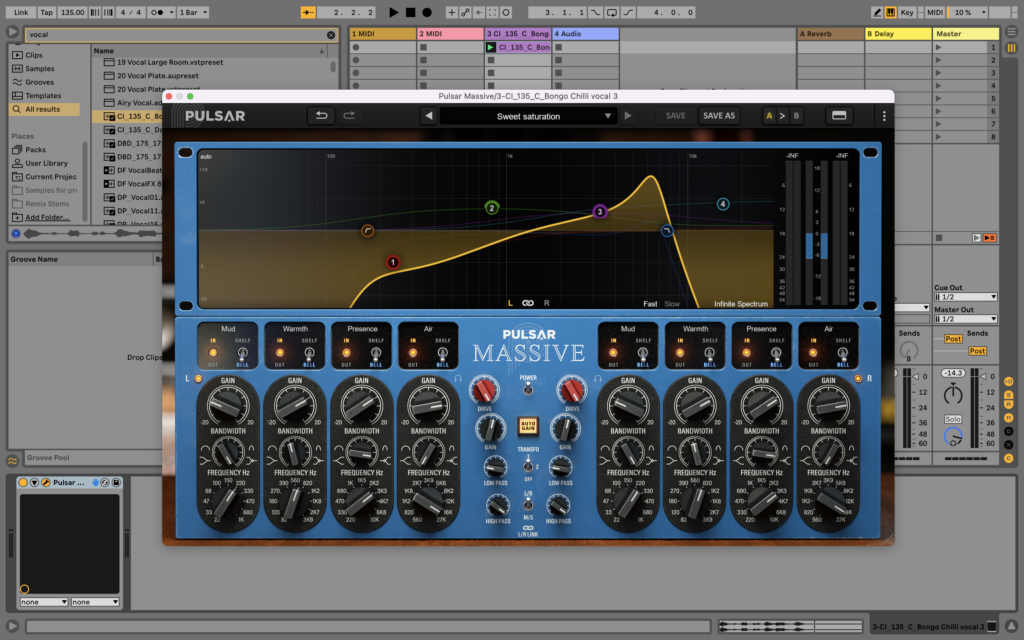
Saturated vocals
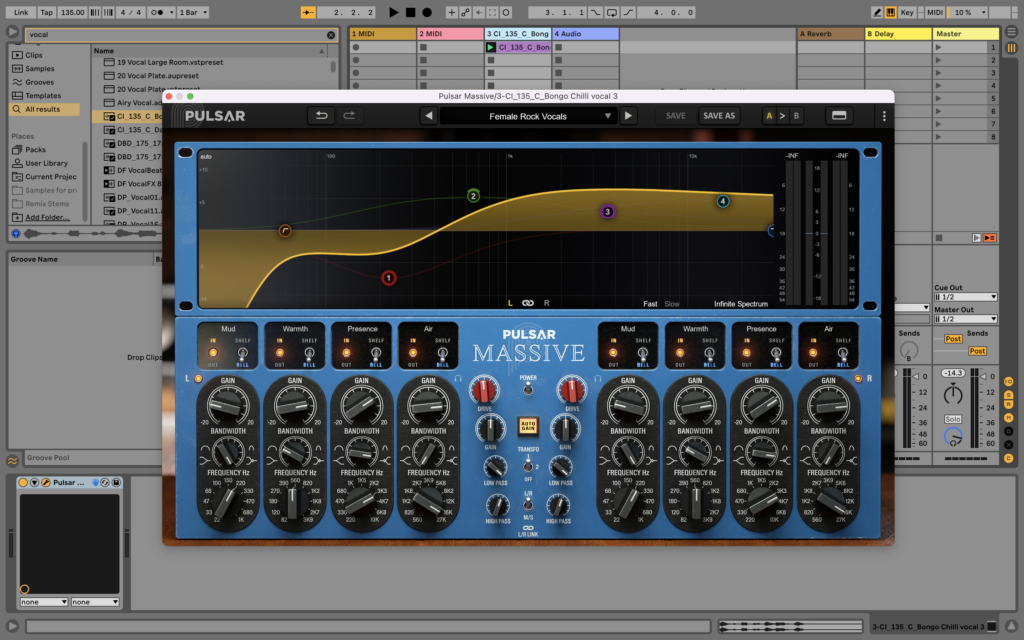
Classic female rock vocals
Airy pop vocals

Lo-fi mic
Compression
Level vocals
- Attack: Medium
- Release: Medium
- Ratio: 1.5:1
- Gain Reduction: -4dB
- Set mix to 100%
Squash vocals
- Attack: Medium Fast
- Release: Fast
- Ratio: 4.1
- Gain Reduction: -6dB
- Use an internal sidechain EQ to cut the lowest and highest frequencies.
De-esser
- Attack: Fast
- Release: Fast
- Ratio: 12.1
- Gain Reduction: -10dB
- Use an internal sidechain EQ to isolate the frequencies between 3.5kHz and 10kHz.
Smooth pop vocal
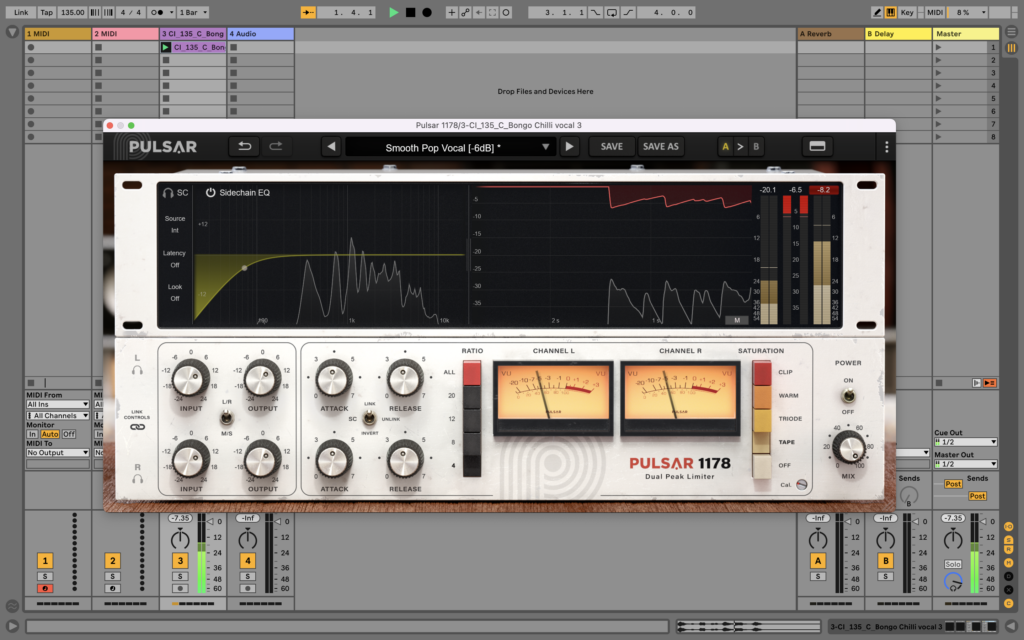
- Attack: Medium
- Release: Medium
- Ratio: 4.1
- Gain Reduction: -6dB
- Use an internal sidechain EQ to remove sub frequencies below 80Hz
Rock vocal
- Attack: Fast
- Release: Fast
- Ratio: 20:1
- Gain Reduction: -12dB
- Use an internal sidechain EQ to remove sub-frequencies below 80Hz